Hey ladies,
I posted a snap yesterday morning off products I recently purchased and couldn't wait to do a review/first impressions of them. The one I wanted to try the most as I have used the other two previously is the Giorgio Armani Luminous Silk Foundation.

I've been dying to try this for a long time but when the time came to get a new foundation I'd always chicken out and stick to my Mac, as I just thought "shit it's a bit expensive what if it doesn't suit" bla bla bla and all the rest. So let me get started with what my thoughts are now that I've finally bit the bullet and bought it.
Ok so first impressions are the packaging.... oh so fab! It's only in a normal glass bottle but it's the wee GA on the lid that I thought was so pretty. Such a magpie I am, anything shiny and, boom, I'm hooked! However I had a mini heart attack when I seen the colour because I thought it looked waaaaay to dark for my skin tone. However when I swatched it on the side of my hand I couldn't believe it was an exact match, delighted! For reference I bought it in the colour 4.5 as I'm normally NC20 in most of the Mac foundations. The colour was an exact match which I patted myself on the back for and it smells really really nice, like a nice moisturiser!
 So before I applied the foundation to my face I applied Macs strobe cream, followed by the fix+. These two products are ones I will never let leave my make-up bag. Firstly the Mac strobe cream is amazing for giving your skin a gorgeous dewy glow and brightens the skin as a whole. I then spritsed my face with the fix+ which helps set your foundation and also provides a nice dewy finish, For anyone reading the type of look that I like is a nice glowing natural finish. I also have dry skin so anything that takes away from that I will jump at the chance to use. Sorry to all the matte ladies out there but I don't think this one is for you!
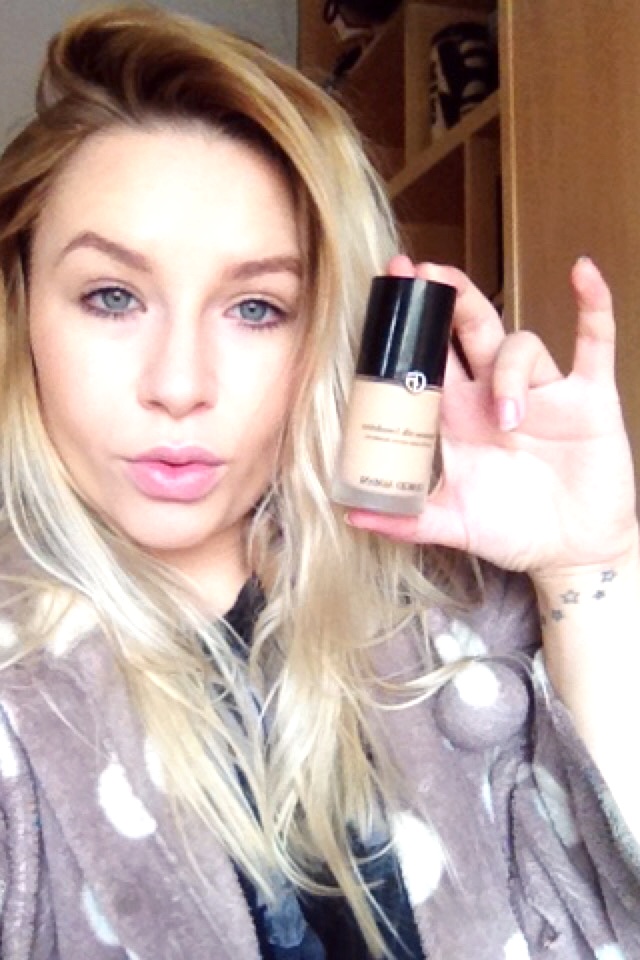
Excuse the bed hair and sexy pjs but this is before any foundation I have just applied the strobe cream and the fix+
 After leaving that to dry for a few minutes I then took my Real Techniques buffing brush and applied the foundation in down ward strokes, as this helps the foundation to set into your skin and not sit in your pores. I kinda freeked out here because I thought It looked darker than it did on my hand but after blending it in it looked like a good match. Now my neck is as pale as a ghost but I always bronze it so no problemo there.
After applying the foundation with my brush I then sprayed some fix+ onto my beauty blender sponge and started to pat it into the skin. This step is not necessary its just I have a sick obsession with sponges at the minute (it's my pregnancy craving...don't even ask) but I wanted to make sure it was completely set as I wasn't using a powder.
 I then applied some of my mac studio fix concealer to highlight and then followed that by using some bronzer. a small bit of highlighter and some mascara. So do I think? Well I'm never using another foundation ever again!... I am in love! Okay so It's perfect for my skin type which is dry/sensitive. I wore it all day and It didn't make me break out. The undertones differ hugely from Mac, as I'm a cool in Mac I find some of their foundations way to yellow like the stuido sculpt. This foundation isn't its matched with a cool tone like Mac as the colours ending in .5 are yellow and the solid numbers are pinks. So I am so happy with the colour. It lasted all day with out powder, it's coverage is medium but you can build It up. I just love it! I will definitely be repurchasing this again and again!
The pictures I've attached are not at all edited in any way, bare in my mind my camera is a load of shit but I tried to get the best selfies possible so I could show you's what it really looked like and I haven't used any filters.
The bottom two are when I came back from being out all day just so you''s could see what it was like after a day out and about.


Thanks for reading,
Love BV xx
No comments:
Post a Comment
Thank you for reading :)